Train a custom image classifier
Use the EfficientNet algorithm to train custom image classifiers based new images and new labels. This will reuse the ImageNet weights of the model making the new models faster to train and giving state of the art performance.
1. Input data
In order to train a custom image classifier you need some labeled images. These images need to be ordered in a directory structure where each image is stored in a directory with the name of the label.
As an examples we will use the hymenoptera dataset, a dataset with ants and bees images. Download it from here. The structure of the directories in the zip file is:
train
    ants
        img1.jpg
        img2.jpg
        ...
    bees
        img1.jpg
        img2.jpg
        ...
val
    ants
        img1.jpg
        img2.jpg
        ...
    bees
        img1.jpg
        img2.jpg
        ...
Upload these directory structure to an S3 bucket: e.g. s3://my-bucket/hymenoptera_data/.
2. Subscribe to the offering
- Log in to AWS with a user with administrative privileges
- Navigate to the EfficientNet Algorithm listing on the AWS Marketplace
- Click
Continue to Subscribe -
Click on
Accept offer(it might take 1 or 2 minutes for AWS to accept the offer)Note that there is no charge for subscribing to this offering only when launching the Algorithm on SageMaker
-
Once you are subscribed click
Continue to Configuration - On the
Configure and launchpage- Select the latest version (
2.0.0) and region where you want to launch the Algorithm - Click on
View in SageMaker
- Select the latest version (
You will be sent to the Amazon SageMaker Create training job page.
3. Launch Training Job
On the Create training job page:
- Name your job e.g.
ants-and-bees - Select an
IAM rolethat has access to S3 (where the data is stored) and SageMaker - Check that under
Algorithm sourcethe selected option is:An algorithm subscription from AWS Marketplace - Check that under
Choose an algorithm subscriptionthe selected option is:EfficientNet - Train Image Classifier - Under
Resource configuration- Select an instance type that has a GPU, the minumum recommended is
ml.p3.2xlarge - Under
Additional storage volume per instance (GB)add enough space for the model and checkpoints to be stored, for example: 10 GB
- Select an instance type that has a GPU, the minumum recommended is
- In the
Hyperparameterssection configure the hyperparameters for the model, see below for a table of parameters available - In the
Input data configurationyou will have two Channels createdtrainandval(both channels are required)- Fill the
S3 locationfor each channel- For example:
s3://my-bucket/hymenoptera_data/trainands3://my-bucket/hymenoptera_data/val
- For example:
- Fill the
- In the
Output data configurationsection set the S3 location to save the output model- For example:
s3://my-bucket/ants-bees-output
- For example:
- Click on
Create Training Job
A new Training Job will be created. Note that based on the data and hyperparameters
it might take a while for this job to finish.
After the job is finished you can deploy a new endpoint for the custom trained trained model.
Output
When Training Job succeds a new model will be saved to the location you specified on S3.
The saved file will be a .tar.gz file with some metadata alongside the best mode.
| File | Description |
|---|---|
args.yml |
Arguments of used to trained the model |
labels.json |
JSON map of ID to label |
model_best.pth.tar |
Serialized version of the best model found |
summary.csv |
Metrics saved for each epoch |
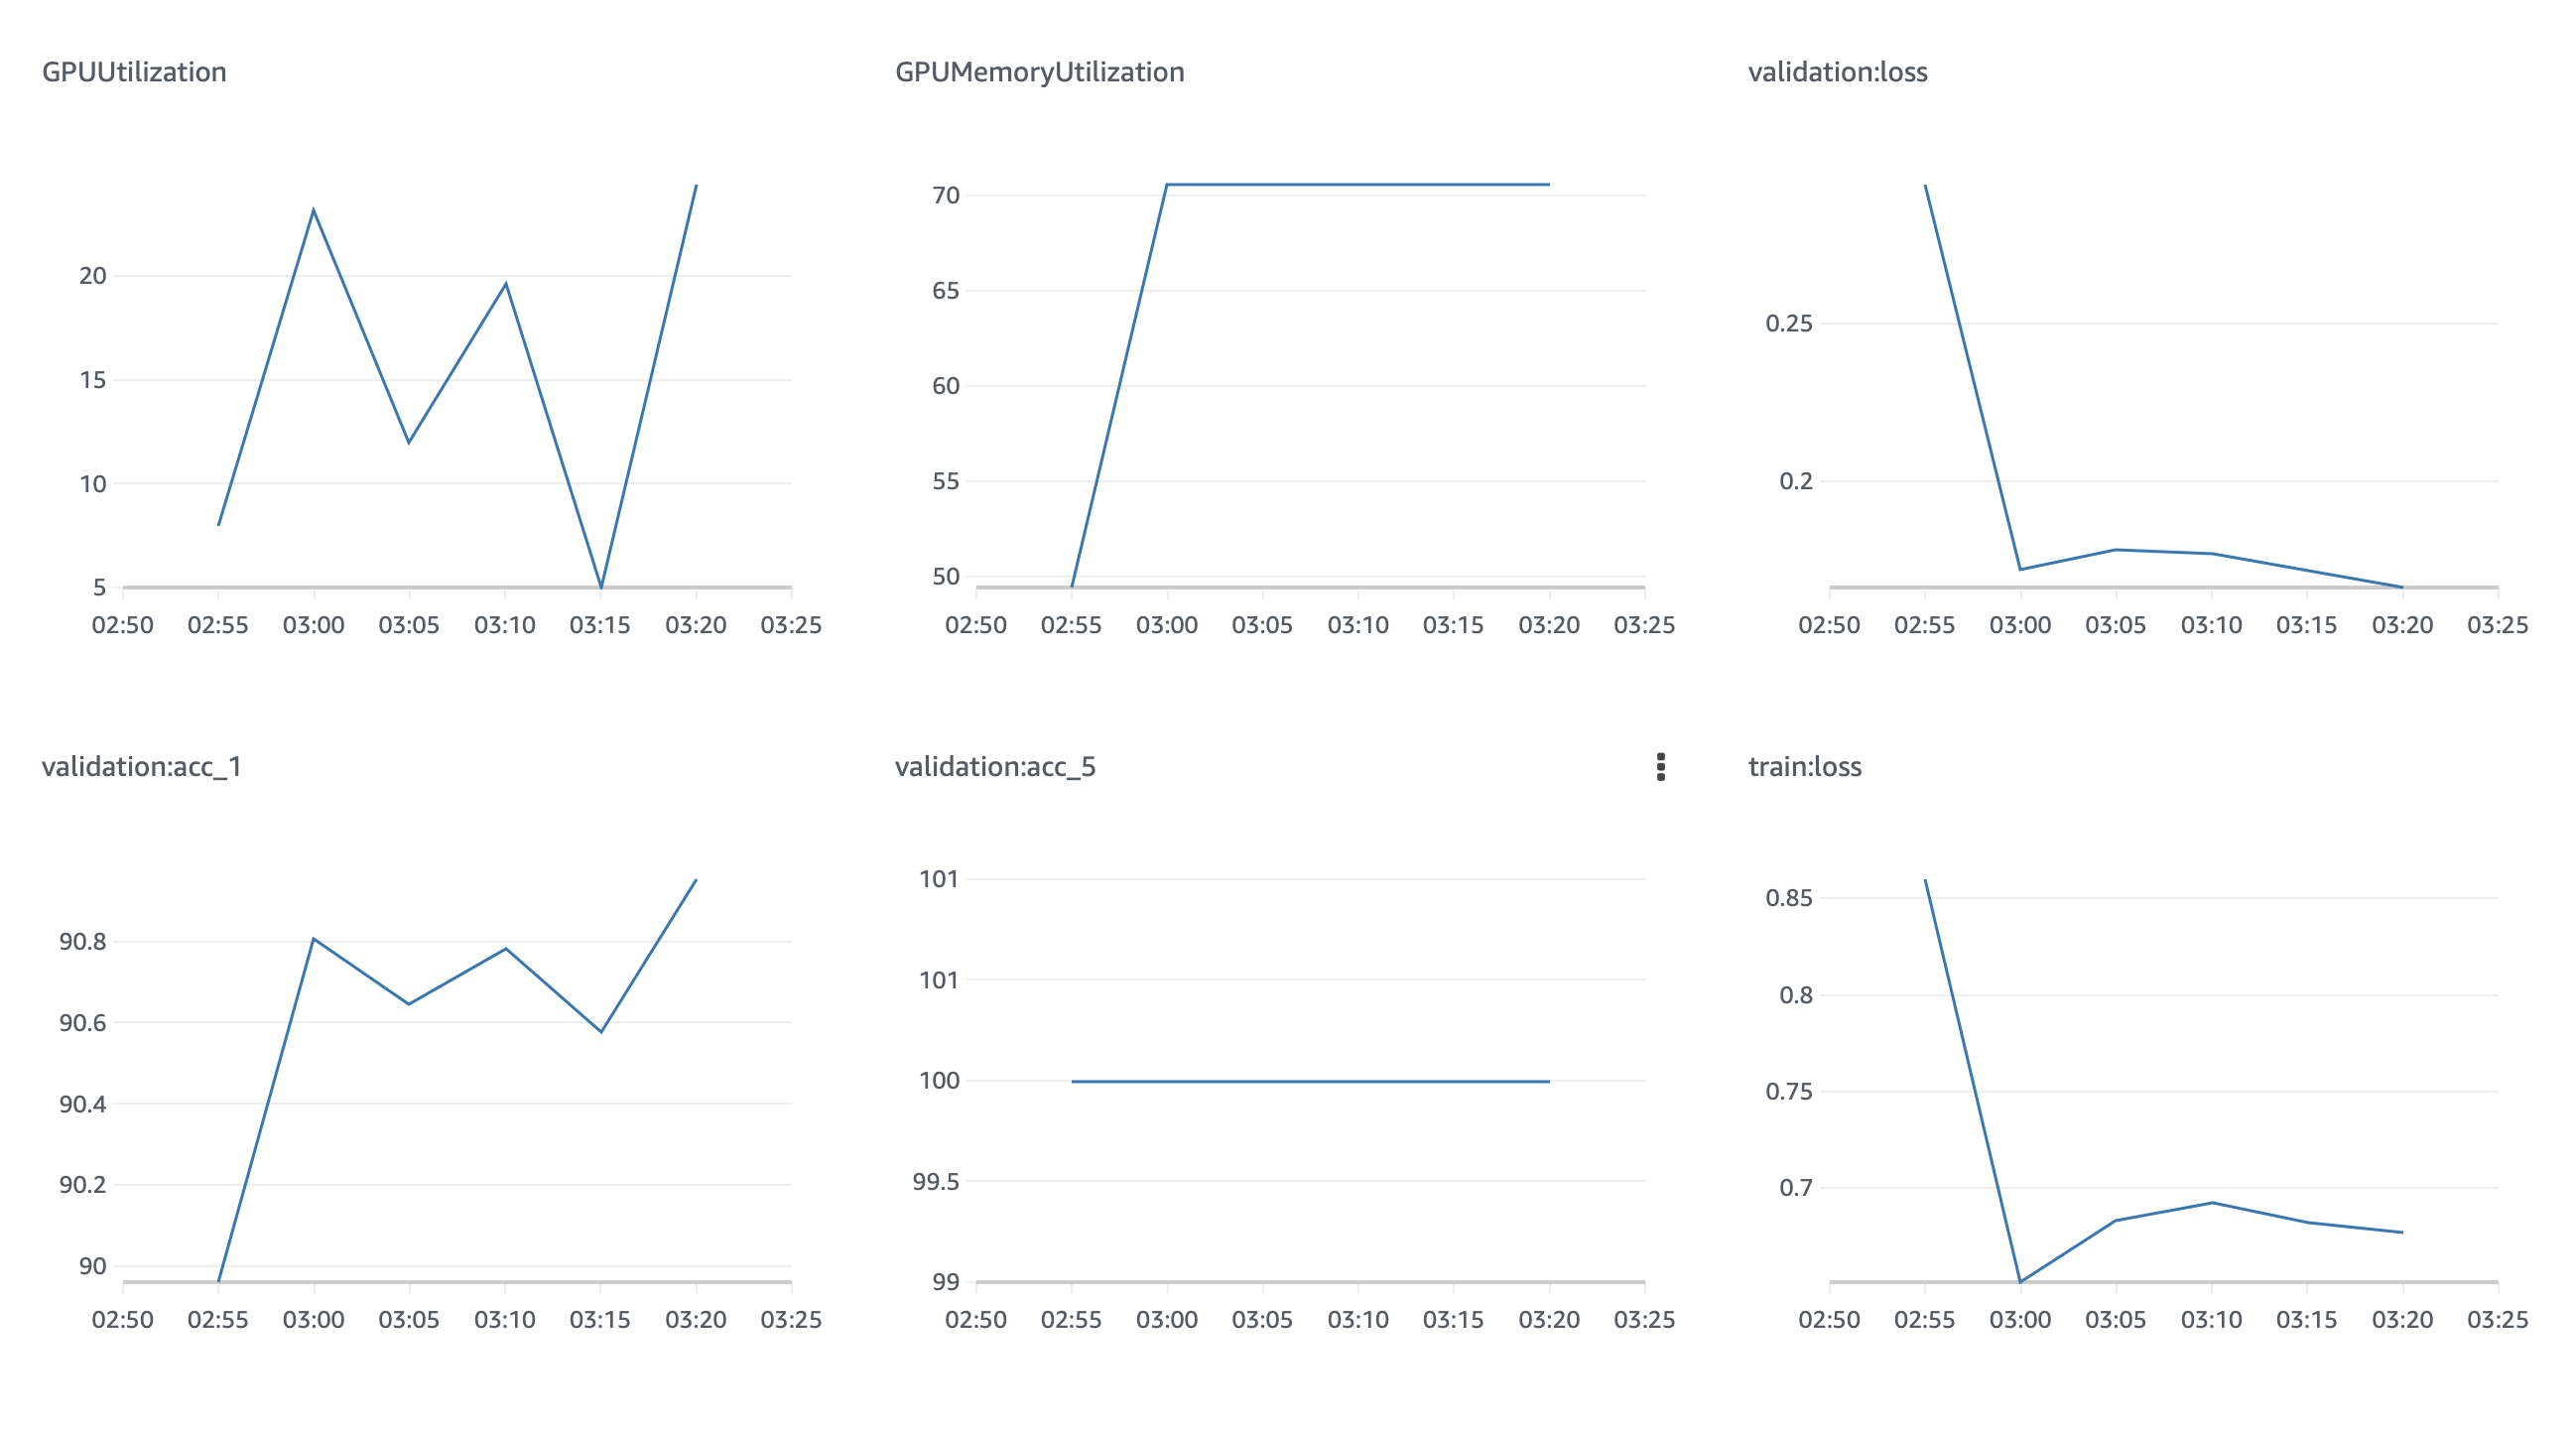
Metrics
The training job outputs 4 models metrics to keep track of the performance while and after the job is running.
| Metric | Description |
|---|---|
trail:loss |
Loss in the training dataset |
validationo:loss |
Loss in the validation dataset |
validation:acc_1 |
Accuracy on the top-1 label |
validation:acc_5 |
Accuracy on the top-5 labels |
Common Errors
If the Training Job fails check the logs on CloudWatch for that Job to see
why it fails.
Some common errors are insuficient space on the device (increase the storage volume) or not enough resources on the GPU (try reducing the batch size).
Also check that the path to S3 are correct. The job outputs some debug information to make this easy.
The /opt/ml directory where this files are located should look like this:
Hyperparameters
| Param | Description | Default |
|---|---|---|
epochs |
Number of Epocs to train | 250 |
batch_size |
Batch Size | 32 |
aa |
AutoAugment Policy (v0, original, rand-m9-mstd0.5) | rand-m9-mstd0.5 |
decay_epochs |
Epoch interval to decay LR | 2.4 |
decay_rate |
LR decay rate | 0.1 |
drop |
Dropout rate | 0.3 |
drop_connect |
Drop connect rate | 0.2 |
lr |
Learning rate | 0.016 |
model_ema |
Enable tracking moving average of model weights (true or false) | true |
model_ema_decay |
Decay factor for model weights moving average | 0.9999 |
opt |
Optimizer (sgd, rmsproptf) | rmsproptf |
opt_eps |
Optimizer Epsilon | 0.001 |
remode |
Random erase mode (const, pixel) | pixel |
reprob |
Random erase prob | 0.2 |
sched |
LR scheduler (step) | step |
workers |
How many training processes to use | 1 |
warmup_lr |
Warmup learning rate | 1e-6 |
weight_decay |
epochs to warmup LR, if scheduler supports | 1e-5 |