User management
The JupyterHub AMI user management is powered by KeyCloak. This allows for centralized user management that can be connected to other authentication backends such as LDAP.
To access the KeyCloak management UI first go the /auth path prefix:
Then click on Administration Console and login into the admin UI:
- username:
admin - default password is the EC2 instance ID, for example:
i-0b3445939c749244c
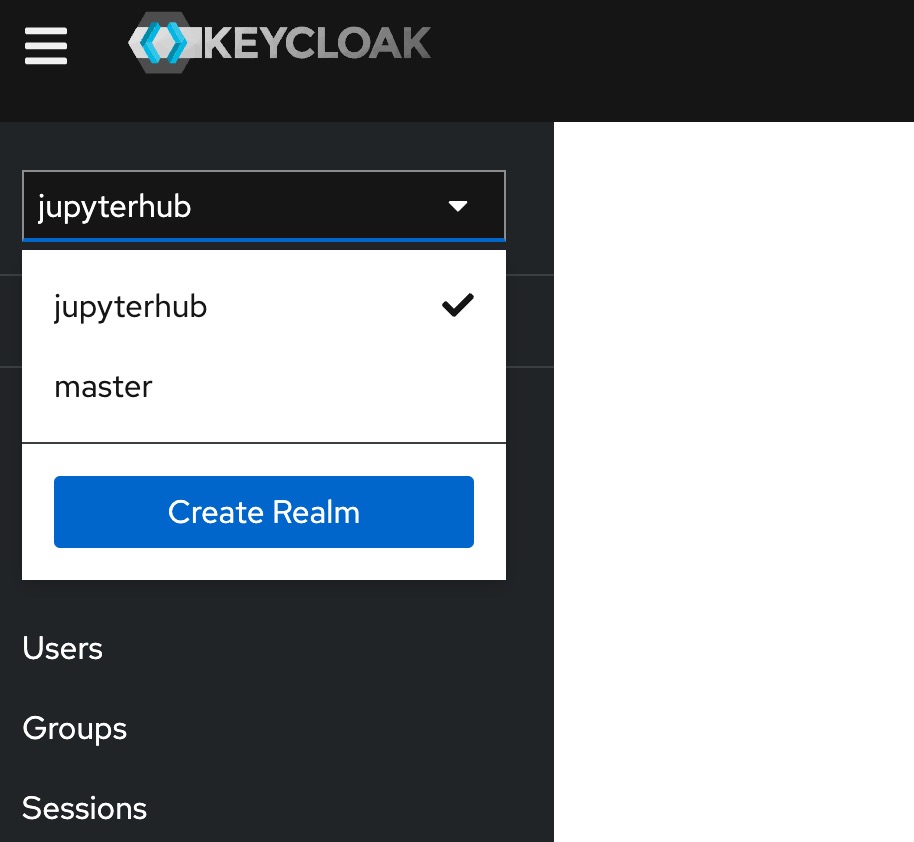
On the top right corner select the Jupyterhub realm.
Adding a user
For a user to be able to login into JupyterHub it must belong to the jupyterhub realm.
- The default
jupyterhub-adminuser is located there. - You can change
realmson the top left corner of the admin UI.
To add a new user:
- User click on the
Usersbutton on the left navigation under theManagesection. - Click on the
Add userbutton on the right side of the table. - On the form type the username of the new user
- Set a required action of
Update Password - Click on
Create
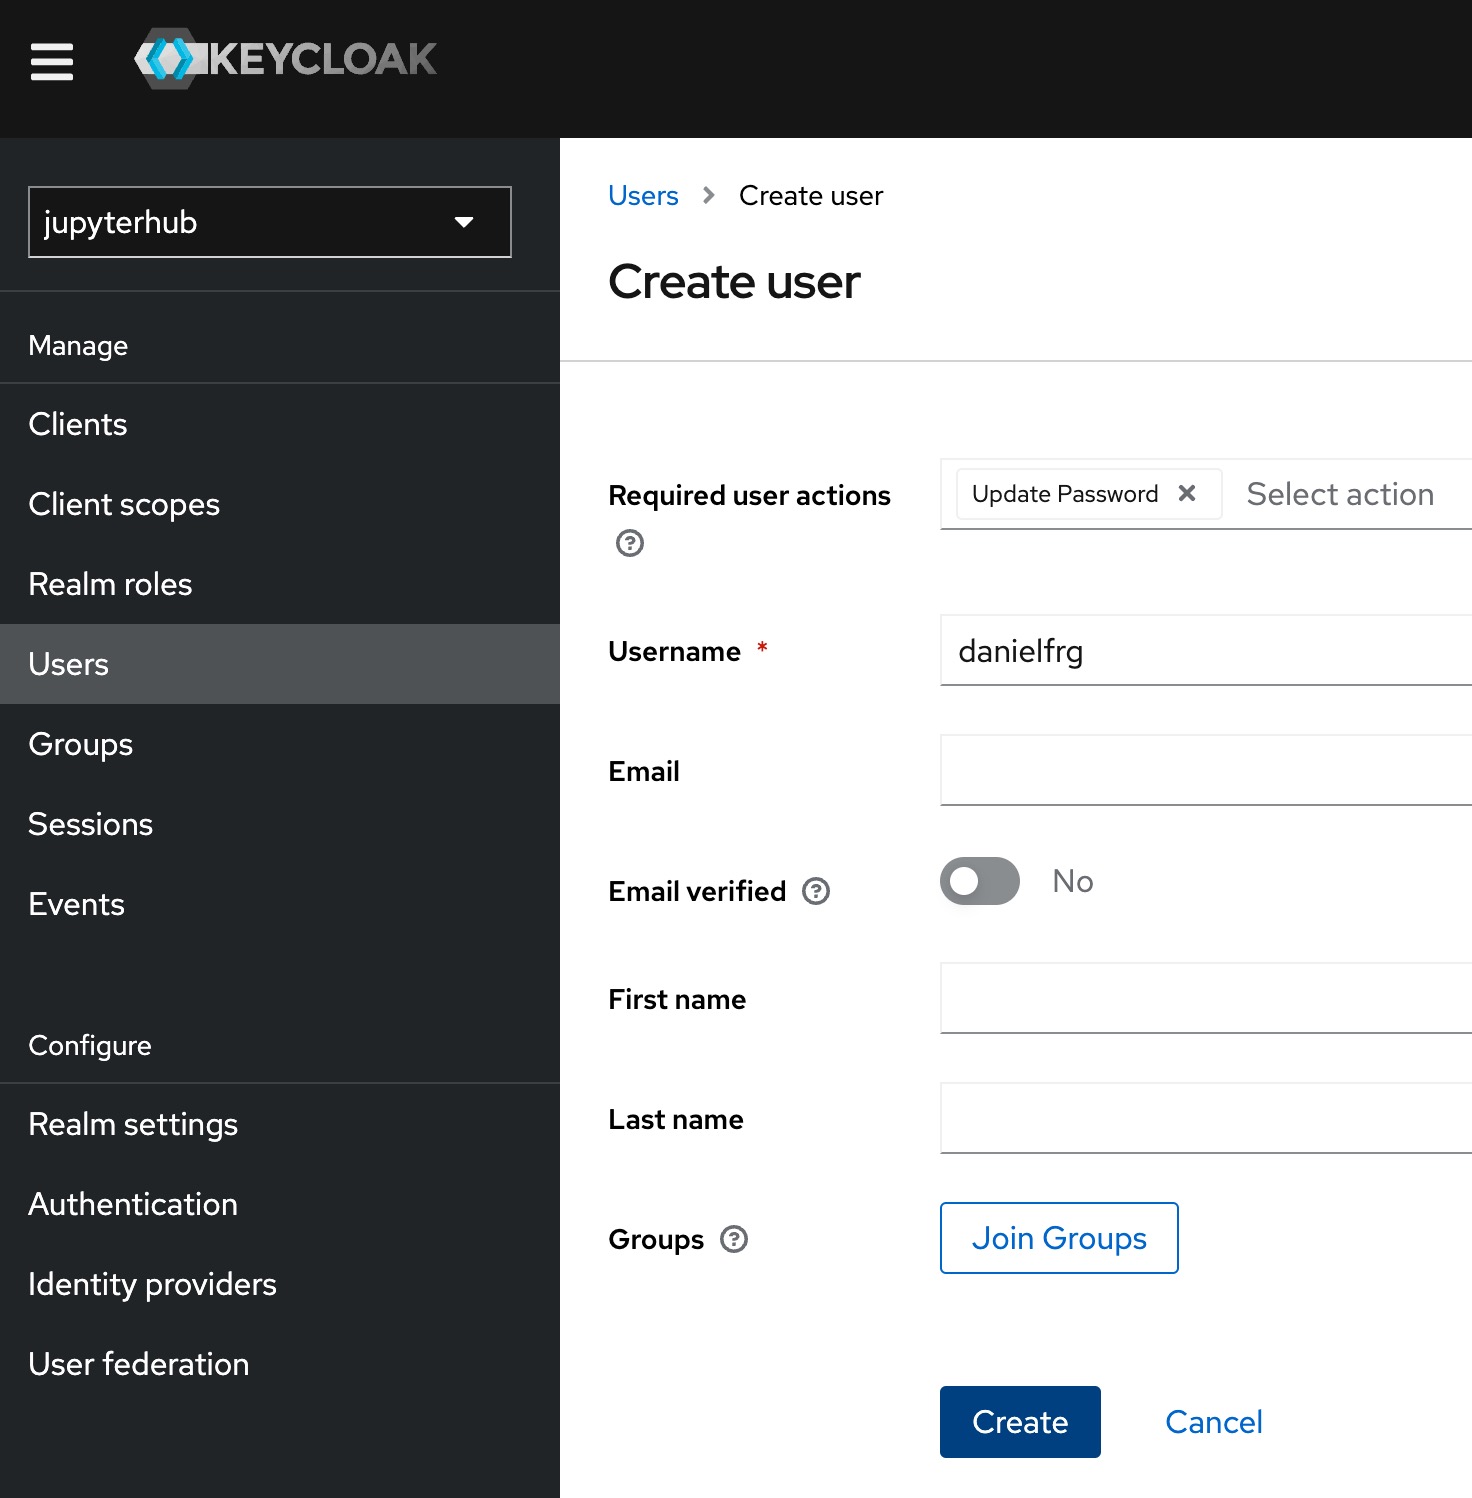
You will be redirected to the new user page.
Add a temporal password click on the Credentials tab and set a temp password.

Now when the new user logs in with the temp password it will be prompted to create a new one.
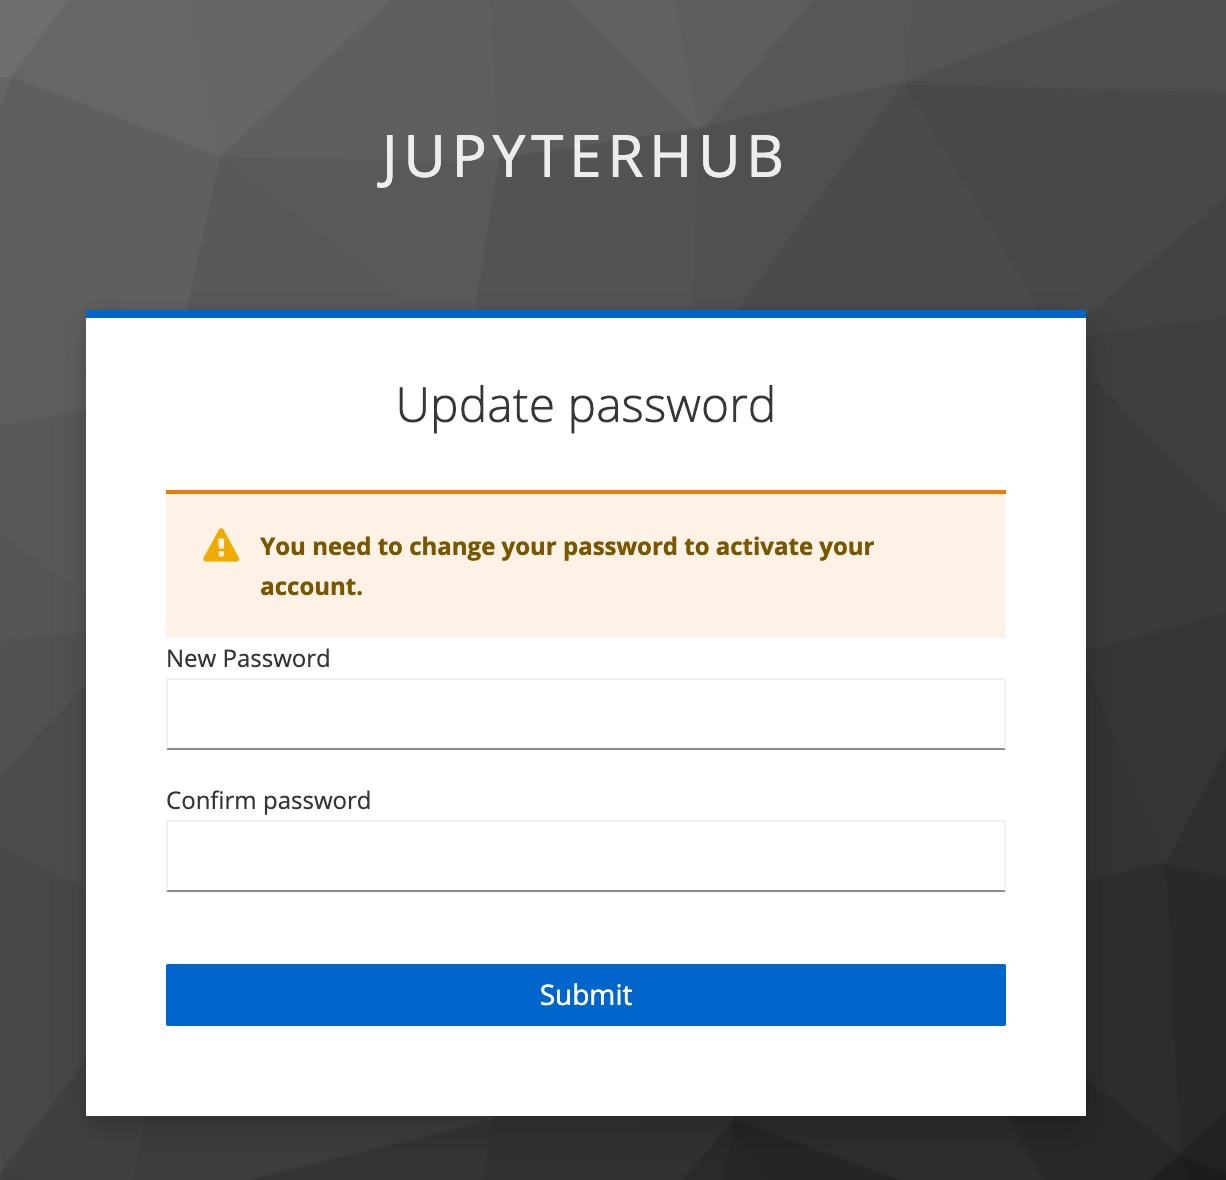
And after that, the new user will be automatically sent to it's Jupyter session.
Other user actions
On the KeyCloak admin UI you can disable and delete users, connect to external authentication systems such as AD/LDAP and more.
To take advantage of other functionality of KeyCloak please take a look at their official documentation.
JupyterHub Users
Admin users are able to control users from the JupyterHub Admin Panel.
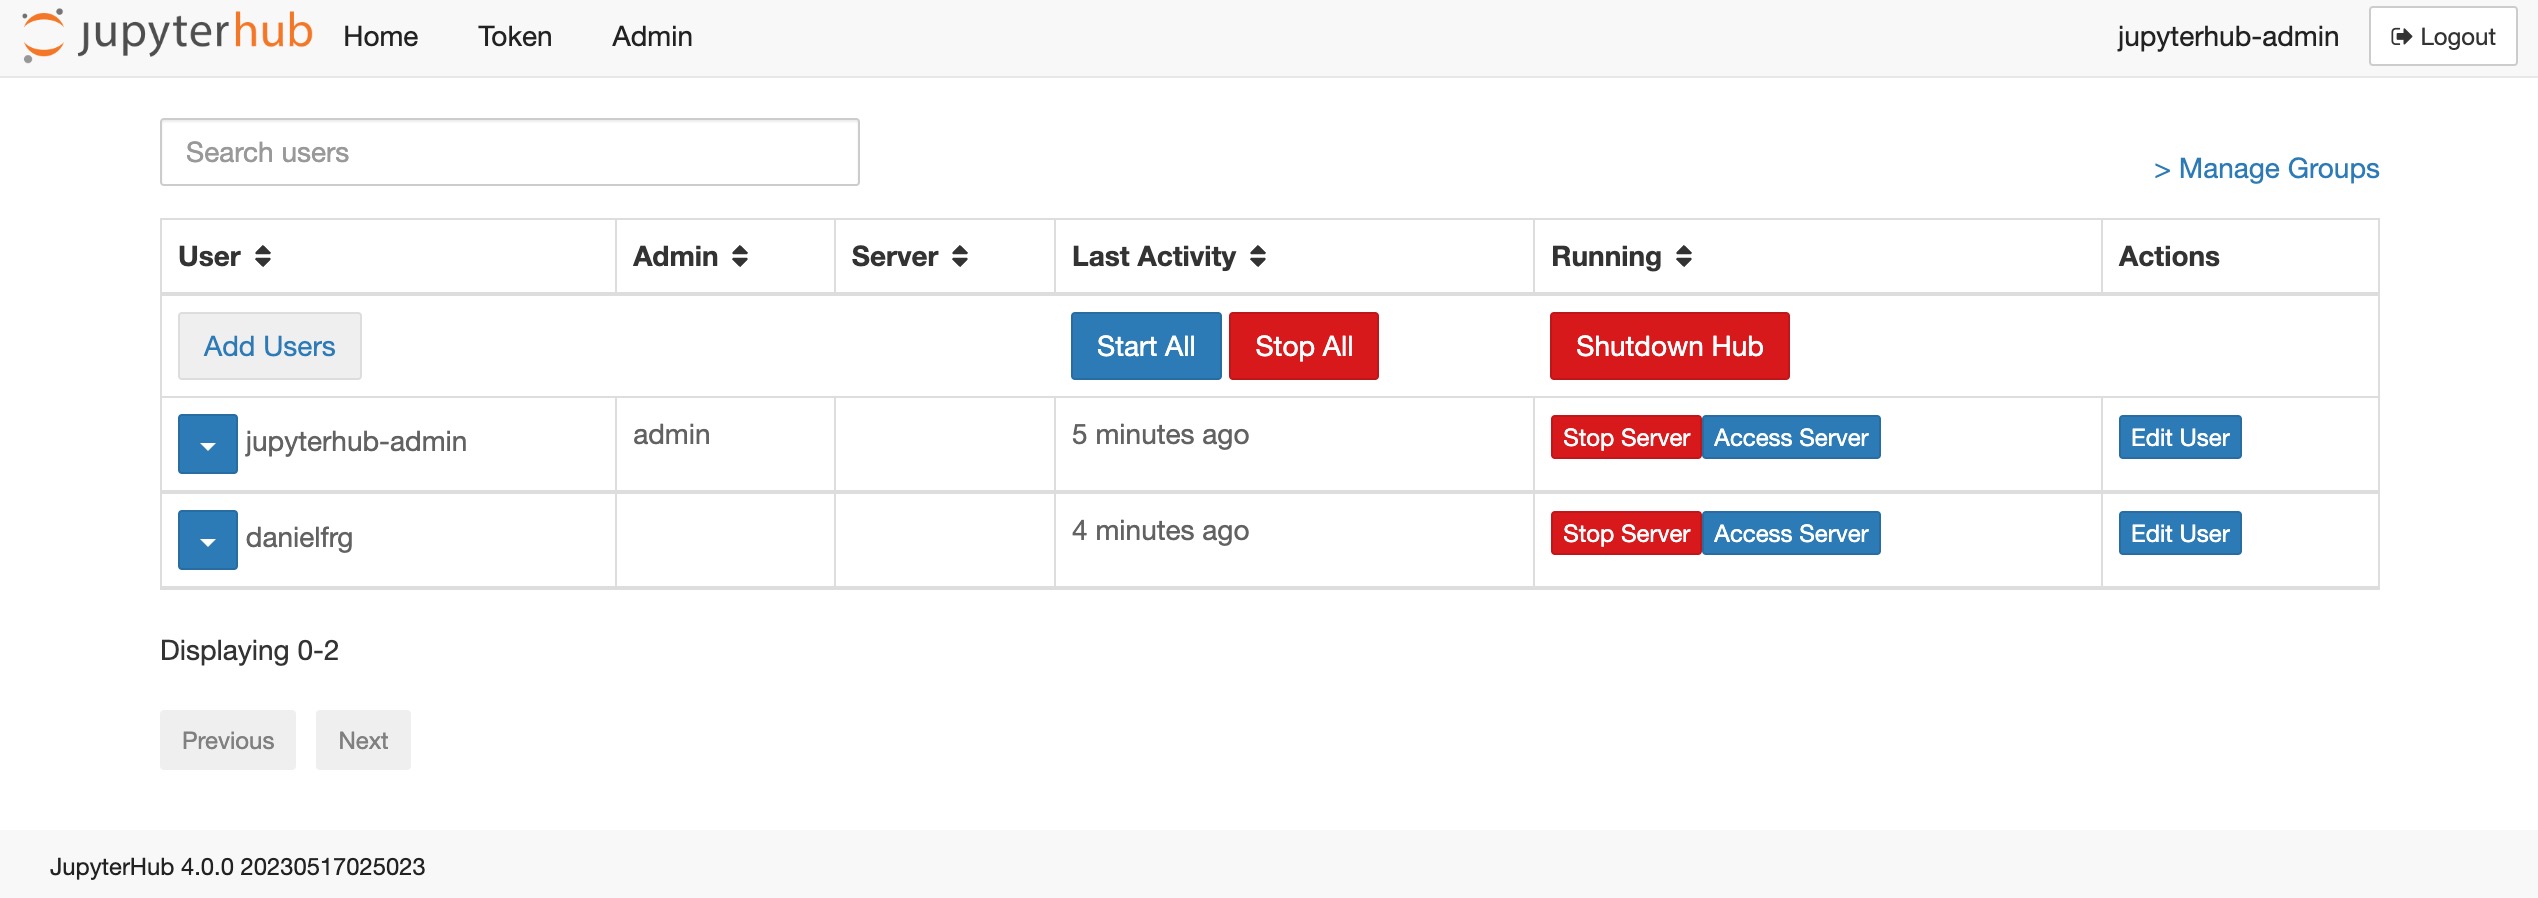
The default the jupyterhub-admin is an admin on JupyterHub.